


Share a project through the portal
Milestones, scope, deliverables and requests: the guided setup that decides what your client sees.
Share a project through the portal
Turning on a client’s portal gives them the link. What they see for each project is set up on the project itself: open the project and go to its Client Portal tab. A guided Portal setup walks you through four steps. Everything you add here appears on this project’s page in the portal.
1. Milestones
The phases your client sees on their timeline. Think Discovery, Design Concepts, Build, Launch.
- Status follows task progress automatically, with no manual updating
- Each milestone has a Show on client portal toggle, and a Show these tasks to clients toggle if you want them to see the task names and progress underneath
2. Scope
Set expectations by listing what’s included, and what isn’t, in this project. Click Generate Scope and MonoDesk drafts both lists from your project details (it’s good at the “not included” list people forget: client-supplied copywriting, hosting, photography). Edit or add items by hand.
3. Deliverables
The things you owe the client. Each deliverable takes attachments (files or URLs), a due date, and a note for the client, plus a Requires Approval toggle. Approval-required deliverables show as Pending client approval until your client signs off, right in the portal.
4. Requests
What you need from them. Start from a template (Brand assets, Copy and content, Login or access details, Project brief, Feedback or approval) and tailor it. You can attach a request to a task, so what the client sends lands where the work happens.
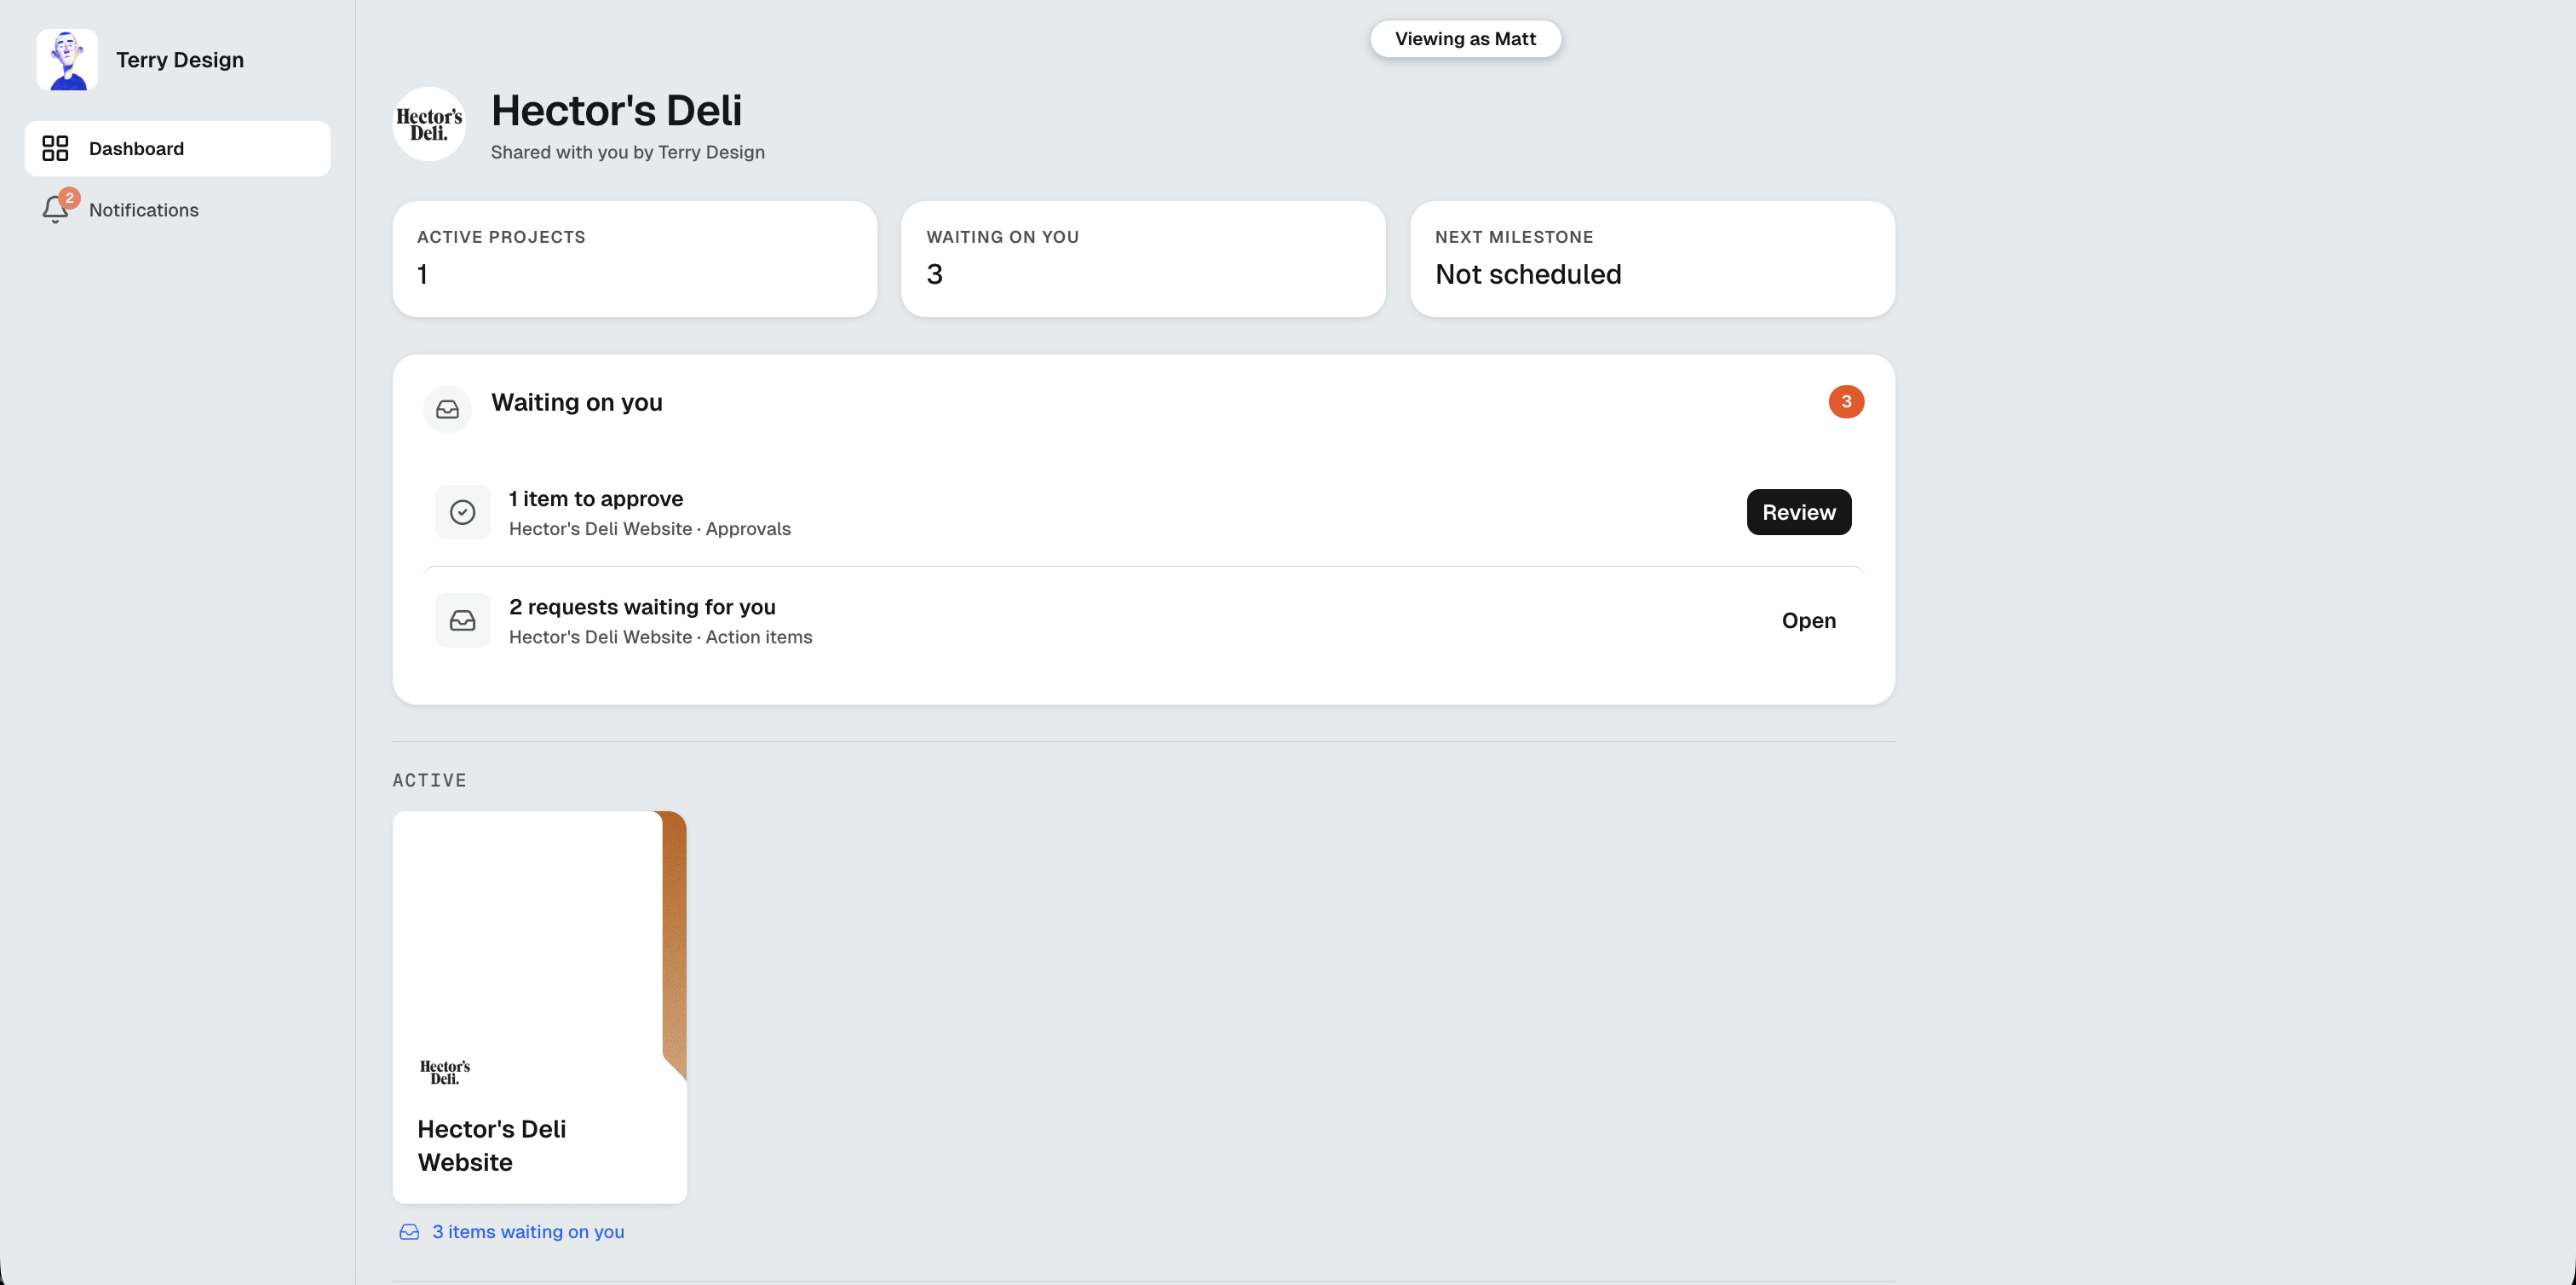
Preview and share
Client preview shows exactly what your client will see (desktop and mobile) before you send anything. Changes are live; the portal always reflects the current state.
Last updated September 8, 2026