


Set up your Client Portal
One branded link per client. No logins, no chasing.
Set up your Client Portal
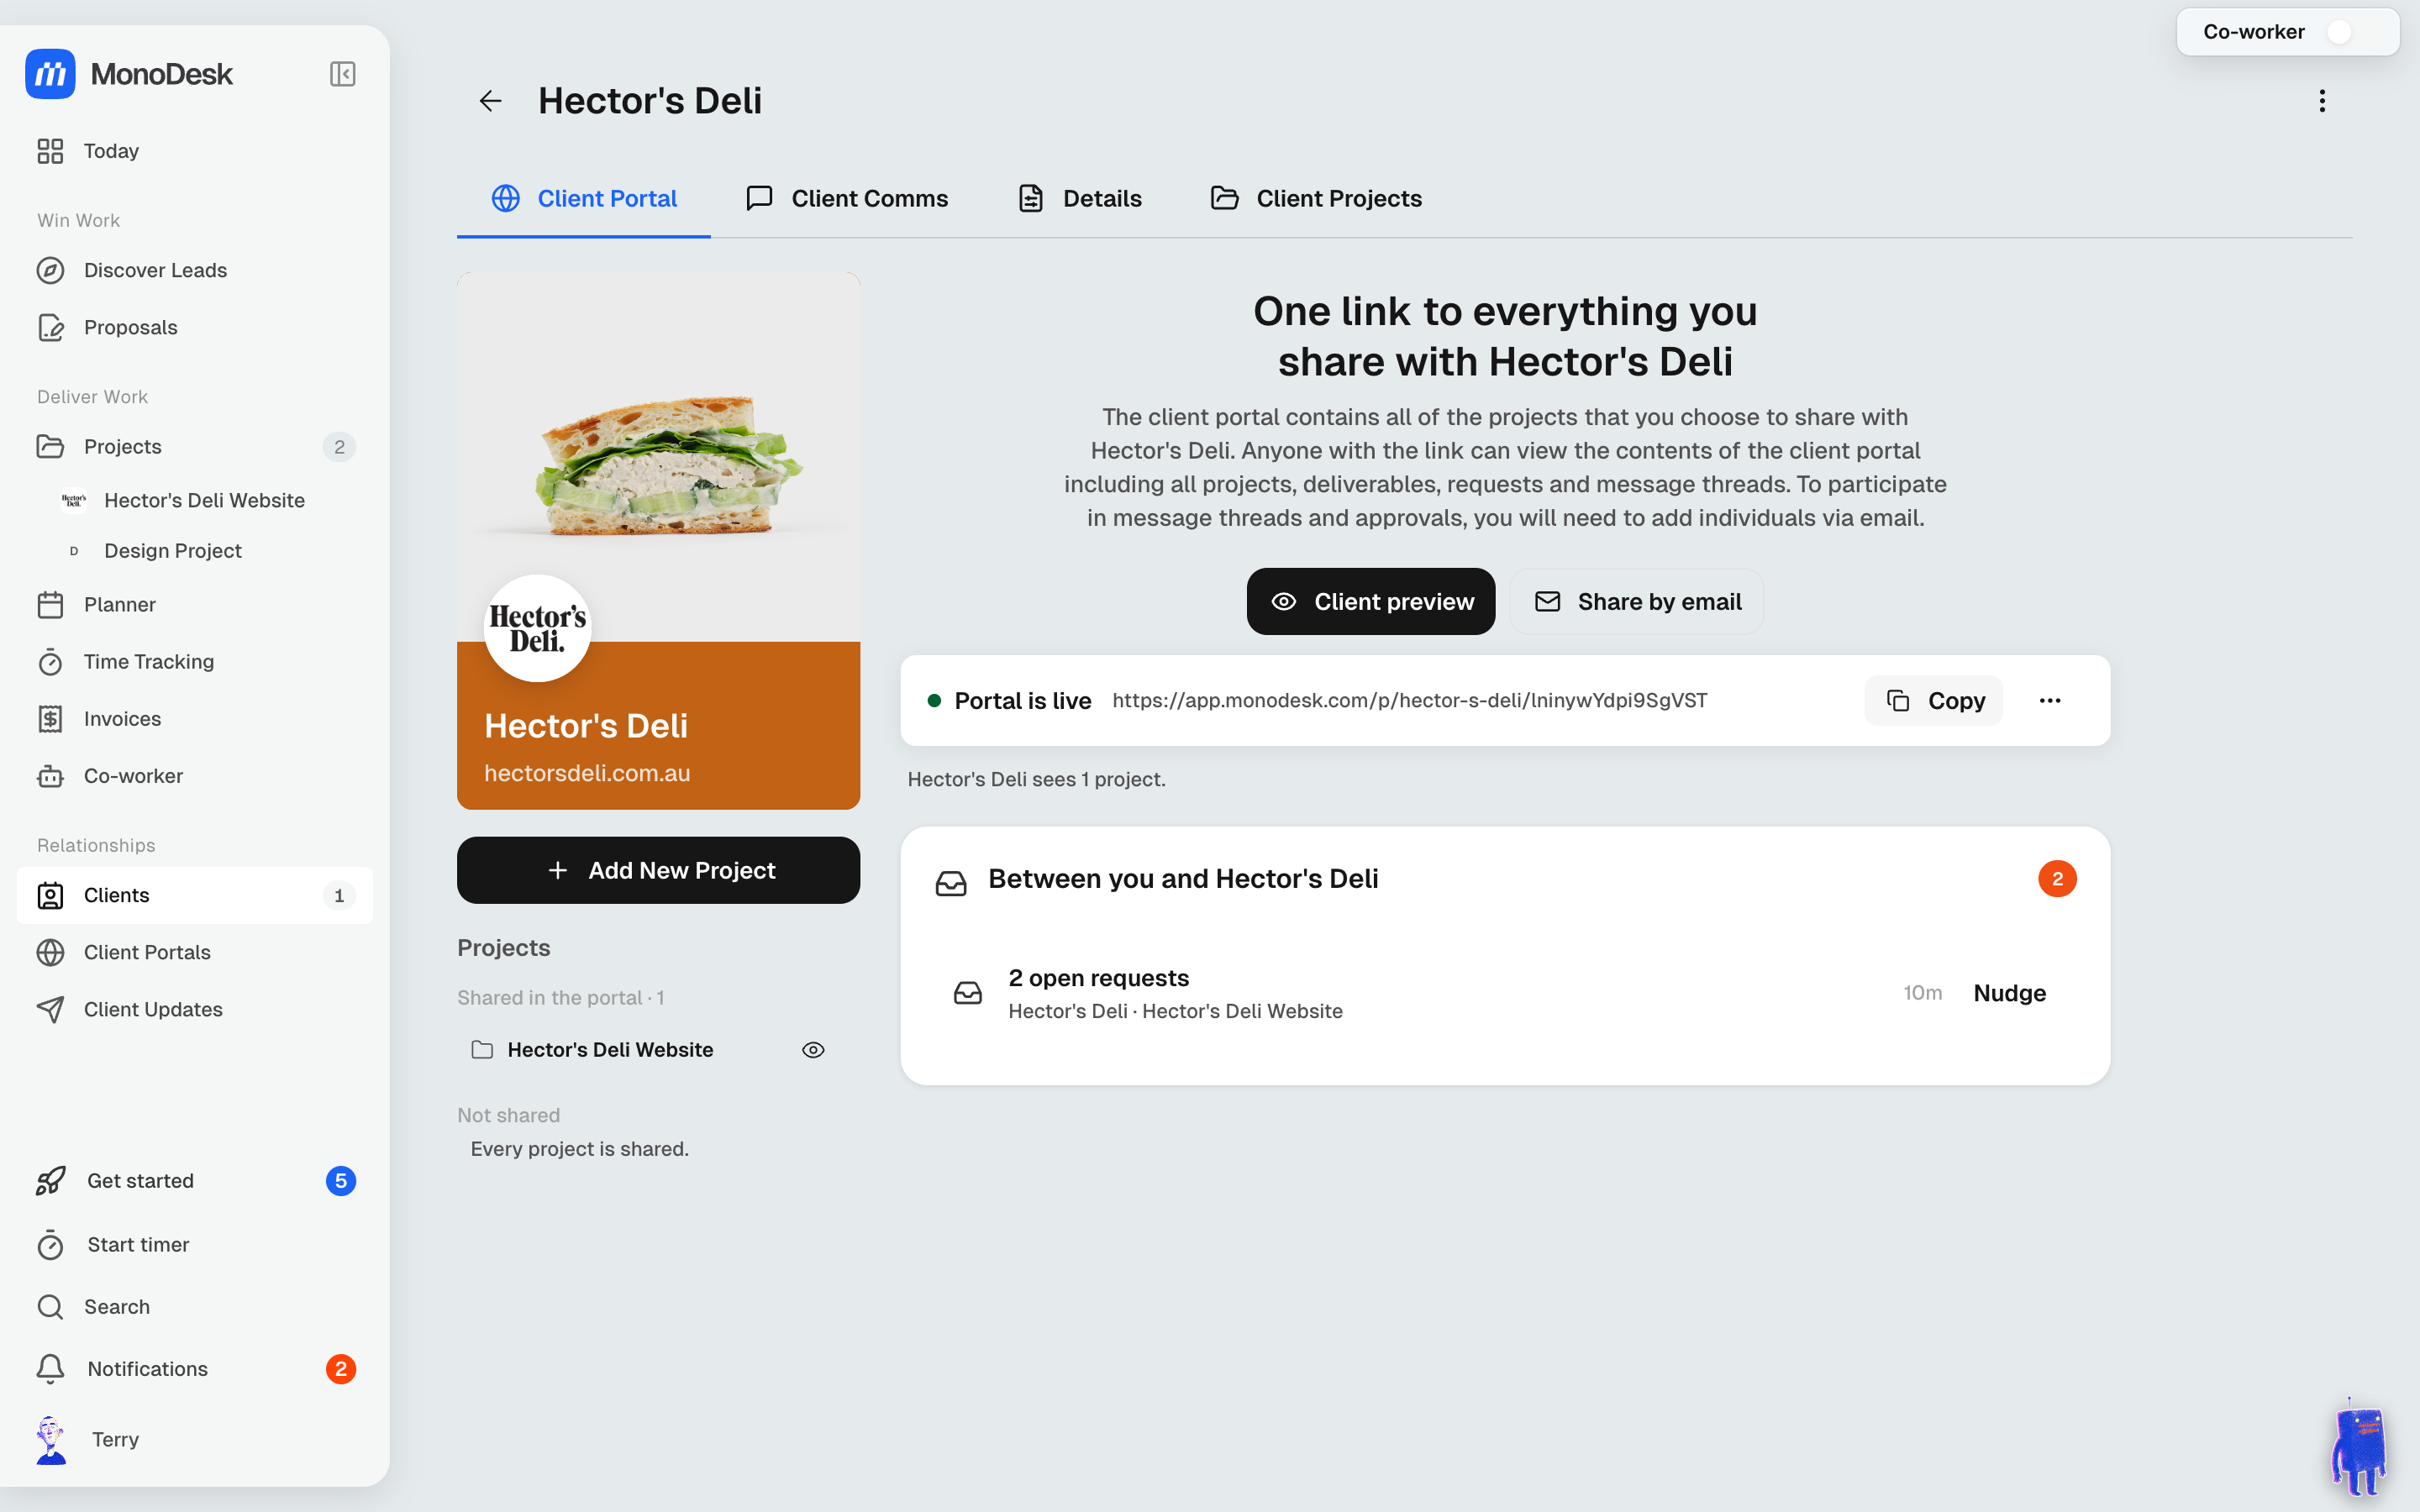
Each client gets a private portal: one link that covers every project you choose to share, always up to date. Anyone with the link can view what you’ve shared, with no account and no login.
Turn it on
- Open the client from Clients in the sidebar; their Client Portal tab is front and centre
- Click the turn-on button; it carries the client’s name, like Turn on Hector’s Deli’s portal
- That’s it: you’ll see Portal is live with the private link, ready to Copy
Tip: set your business name and logo first under Settings → Branding; that’s what your client sees across the top of their portal.
Prefer video? Watch the Client Portal walkthrough.
Choose what’s shared
The Projects list on the client’s page shows what’s Shared in the portal and what’s Not shared. Click the eye icon to show or hide any project. Changes are live, and the order here is the order your client sees.
Preview it as your client
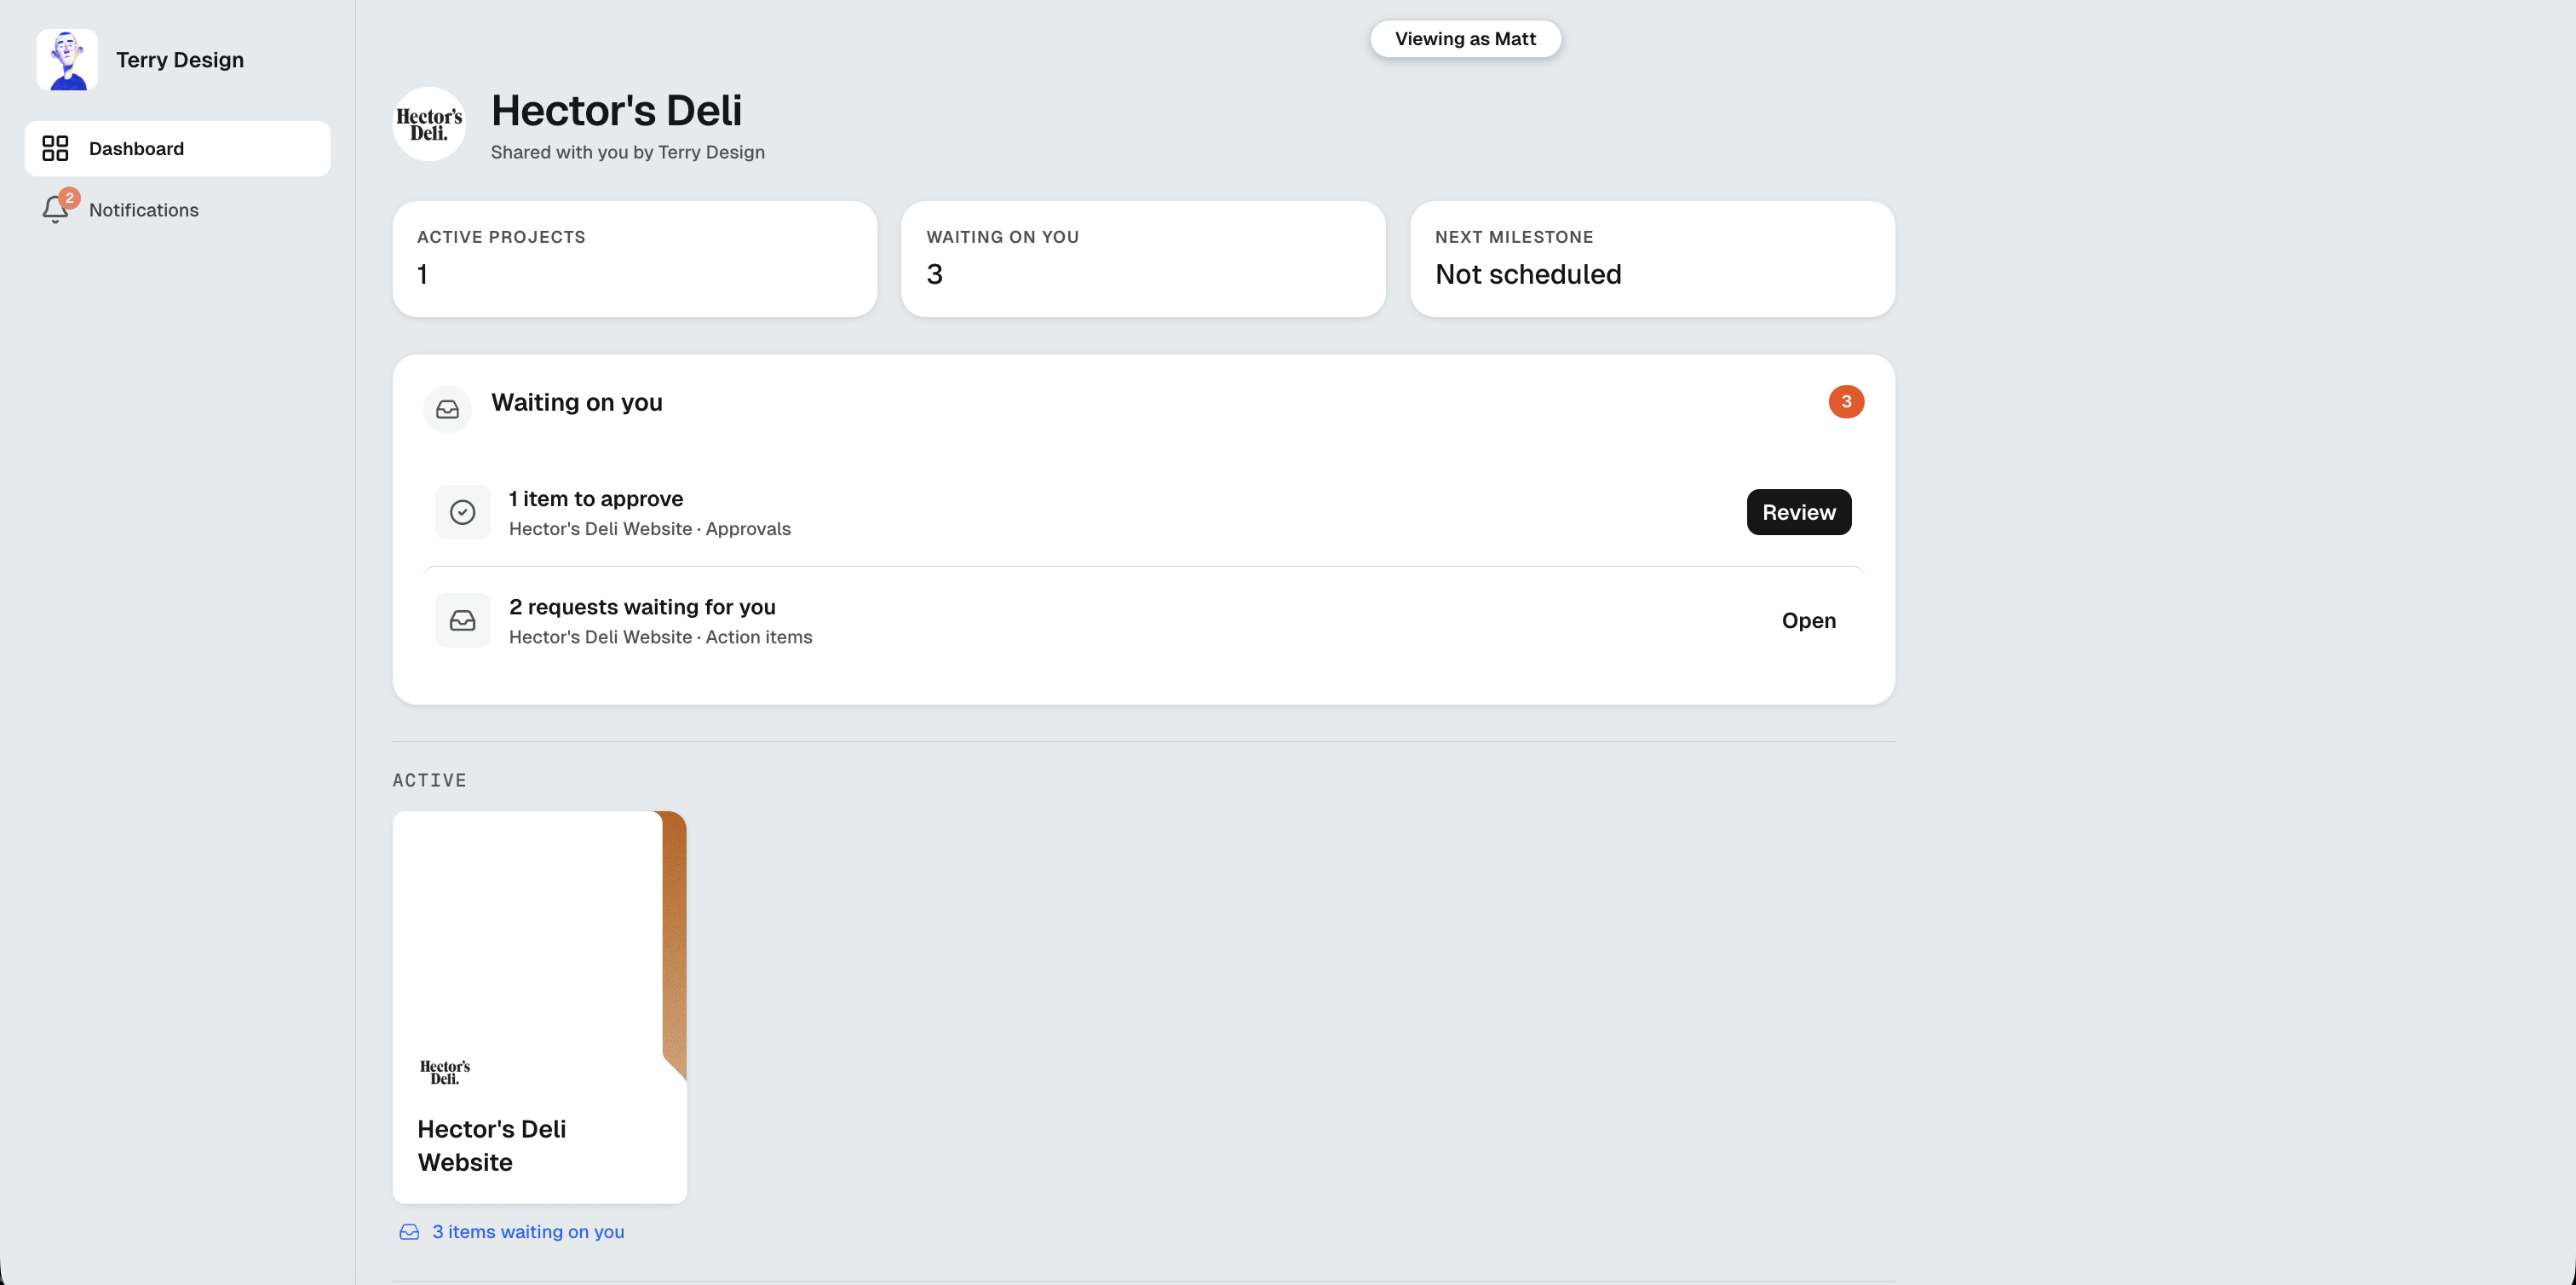
Click Client preview to see exactly what your client sees: their dashboard with active projects, anything waiting on them, the next milestone, and every shared project. There’s a mobile toggle too, since clients often open the link on their phone.
Two ways to share
- Copy the link and send it however you like; anyone with the link can view
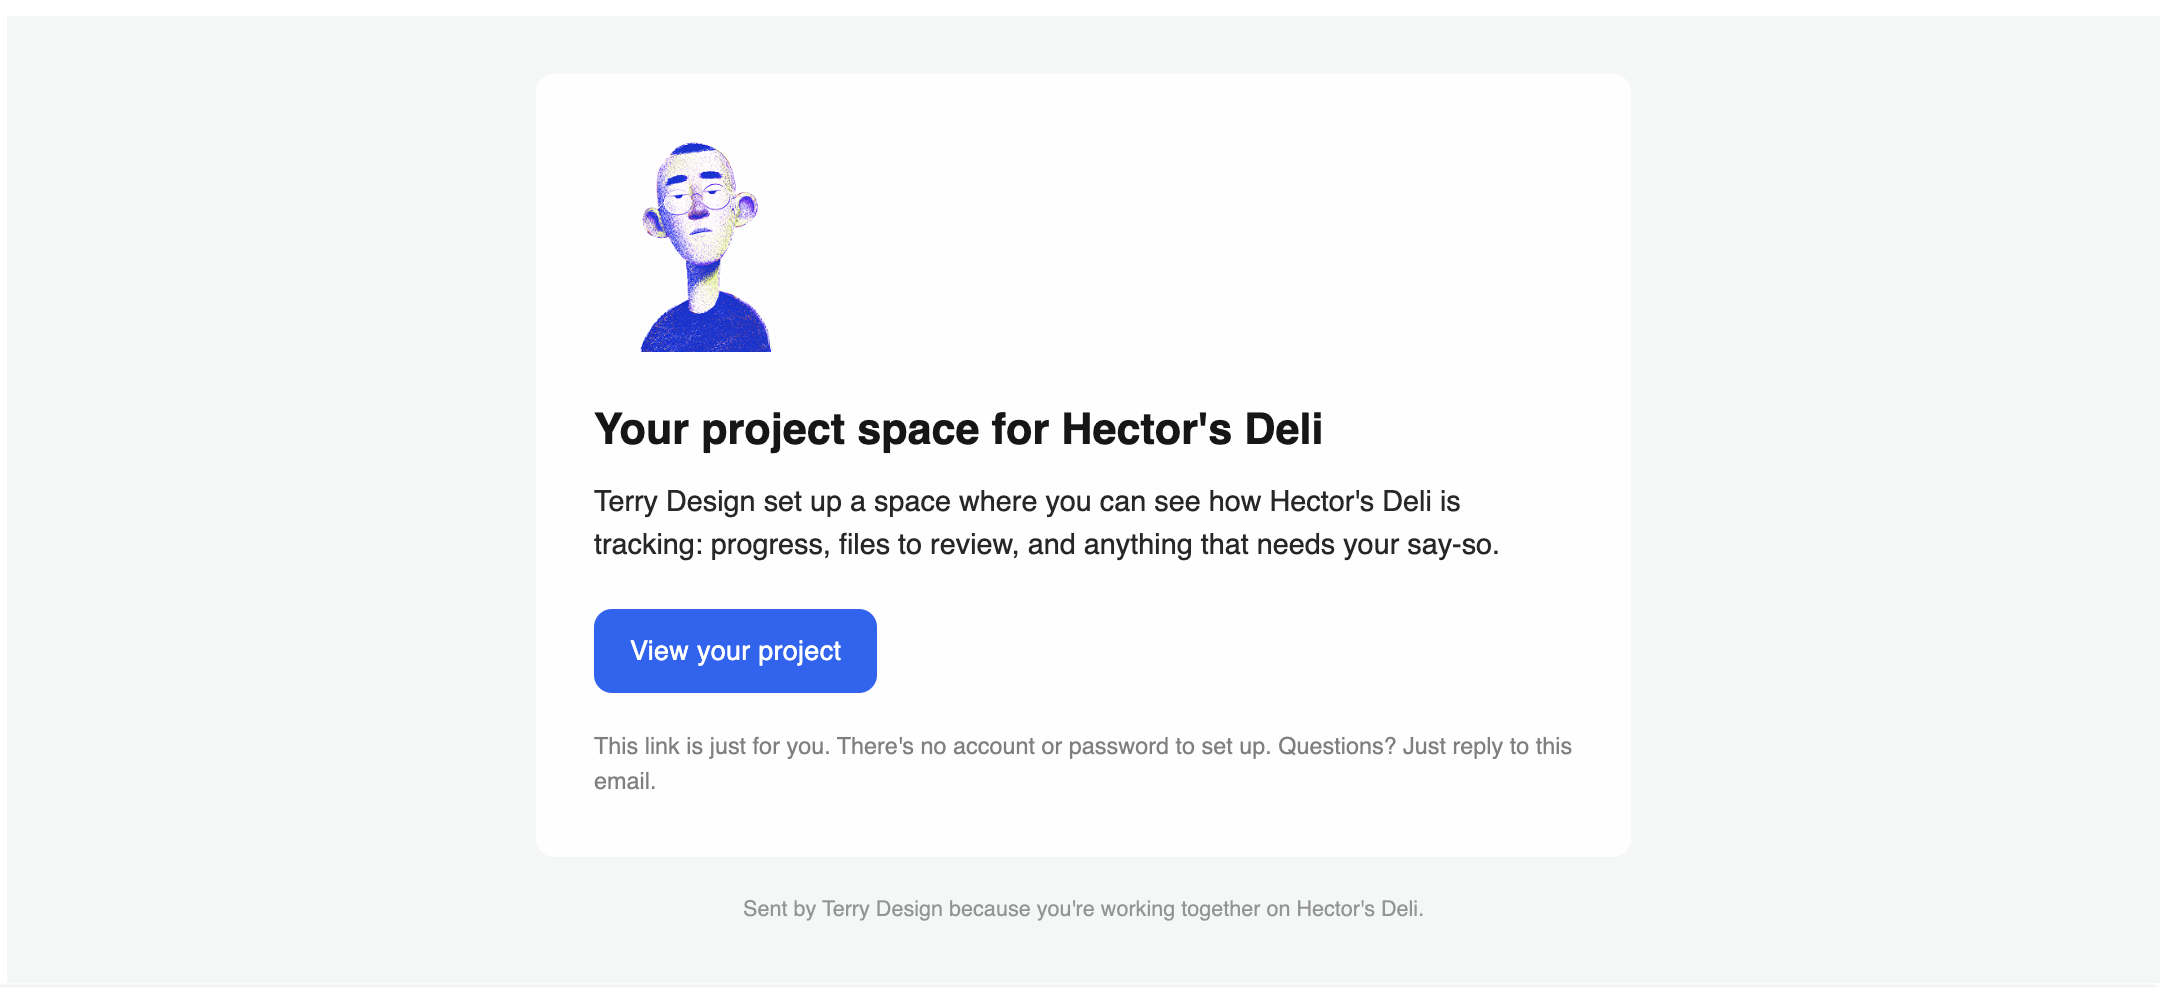
- Share by email: everyone you add gets their own way in and can participate: message threads, approvals, and the updates you send from projects. Invites you’ve sent show under People invited
Your client gets a friendly email with no account or password to set up, and they can reply to it directly:
Messages and approvals
Every portal also keeps a running thread between you and the client. Messages, submissions and anything you’re waiting on collect there, so the chasing happens in one place instead of your inbox.
Last updated September 8, 2026